Installing DDK (documentation for the KCL Our Data Ourselves Class)
15 May 2015Starting the DroidDestructionKit
The following set of instructions will guide you in how to get the DroidDestructionKit toolset up and running on your machine once you have the Virtual Machine Appliance imported into your installation of Virtualbox.
Starting the Virtual Machine
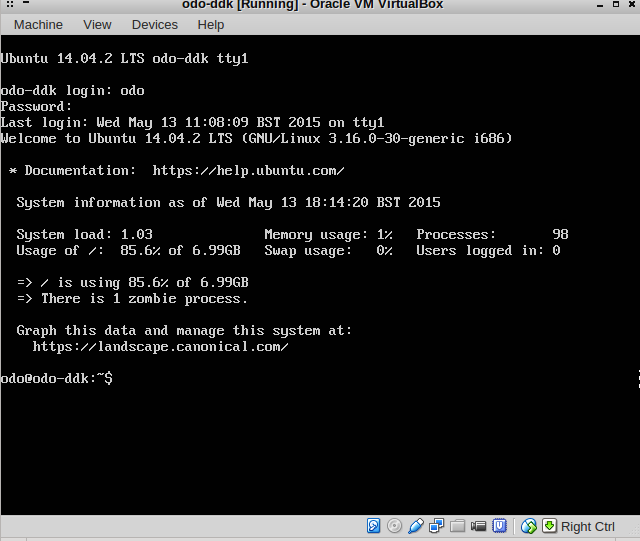
When you click “start” on the Virtual machine, you will have to wait a minute or two for it to boot up. Once it is at a logon prompt, enter the username “odo” and password “ddk”.
Starting the Docker Daemon
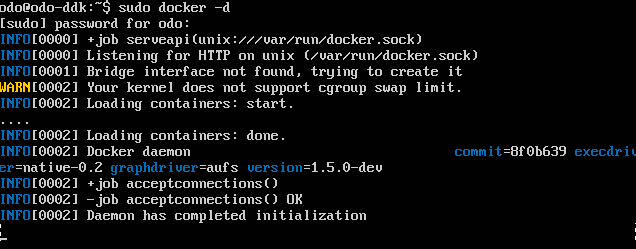
Once logged in, you will have a command prompt. Type in the command “screen -S docker”, hit “enter”, and wait a moment. Next type “sudo docker -d” to start the daemon, followed by the password (ddk). Once you see a message about it starting up, hold “CTRL” and press “A” and “D” in quick succession to detatch from the screen session.

Starting the Docker Container
You now need to change into the “DroidDestructionKit” directory where the Docker container is stored. To do this, use the command “cd DroidDestructionKit”. To start the Docker container, run “sudo ./runcontainer.sh”, followed by the password (ddk). After a moment, you will be met with a root@ prompt. You can use this to use the Docker container if you are familiar with the Linux commandline, however, you will also have graphical access.

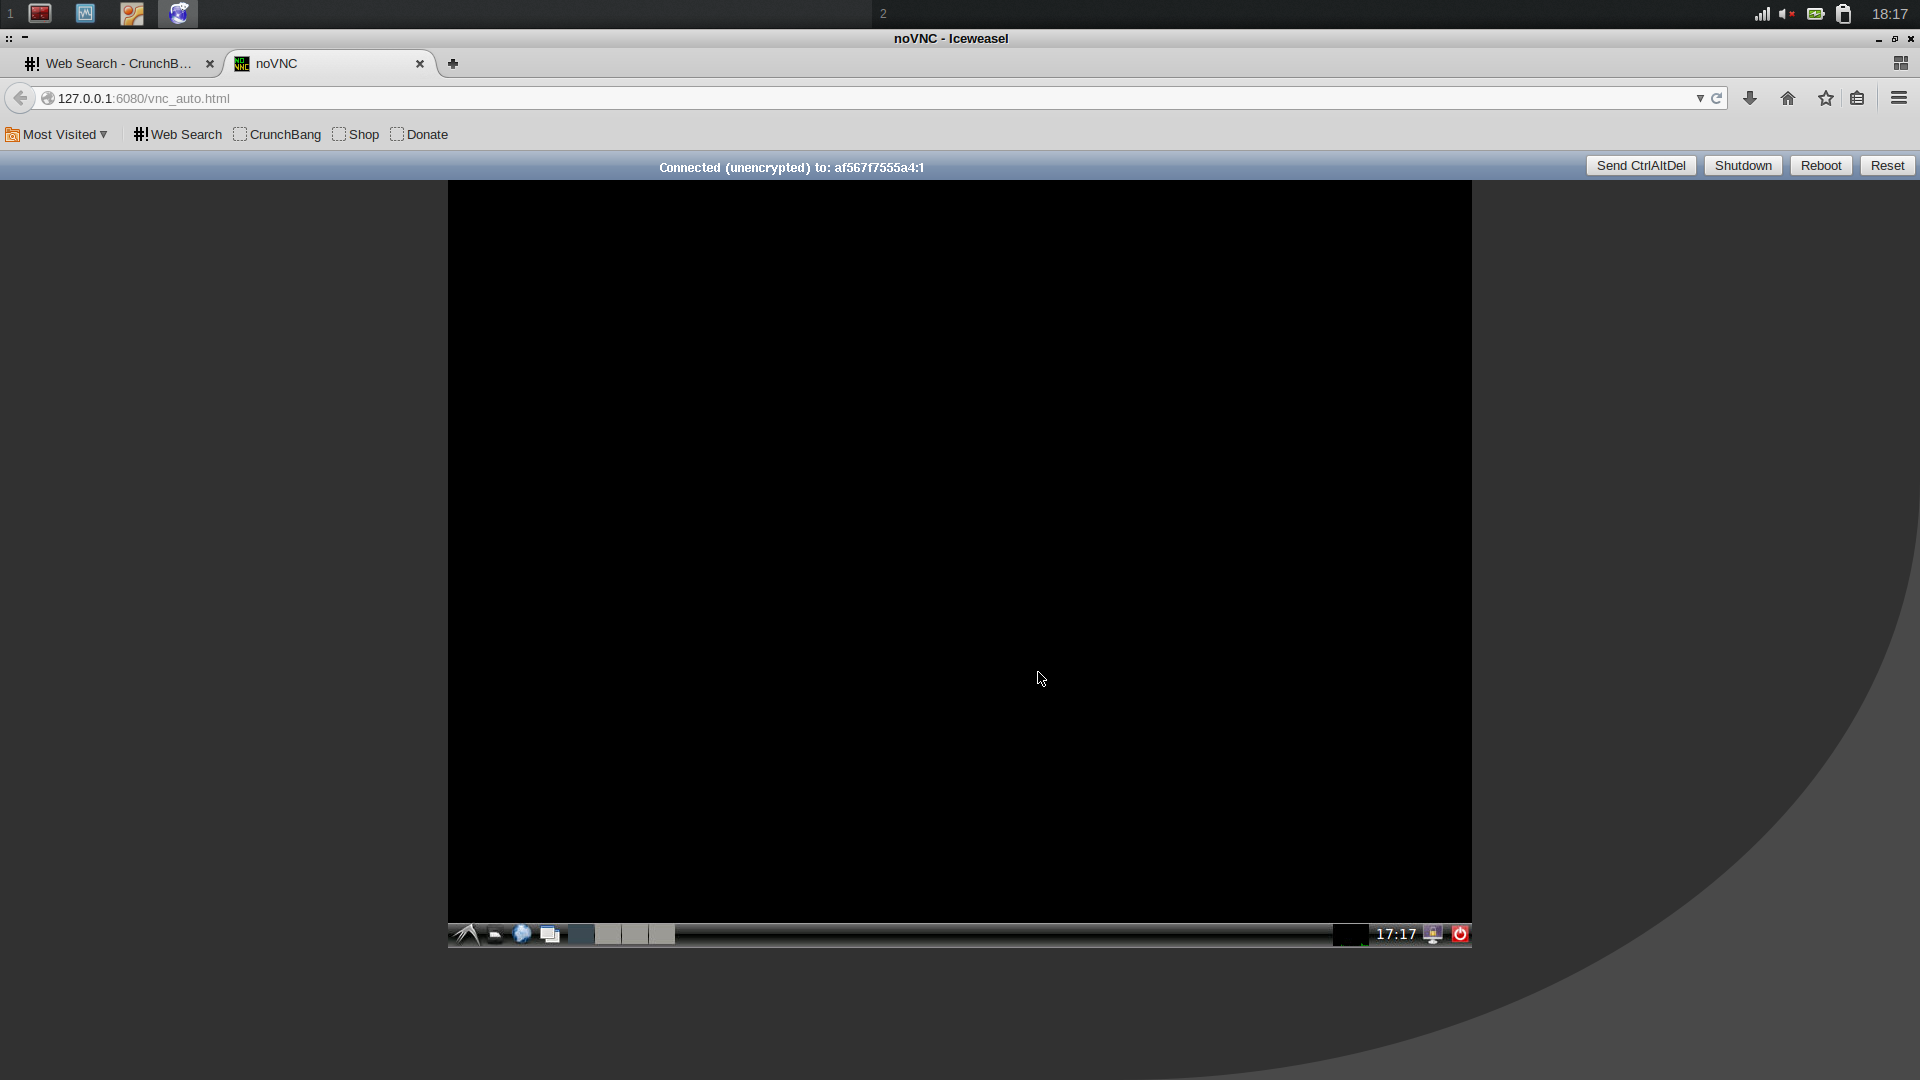
Accessing the GUI via noVNC
From your host computers web browser, navigate to “http://127.0.0.1:6080/” and wait for NoVNC to initialize. You will now be at the desktop of your virtualized machine containing all the tools you need to get started decompiling and exploring Android Applications.